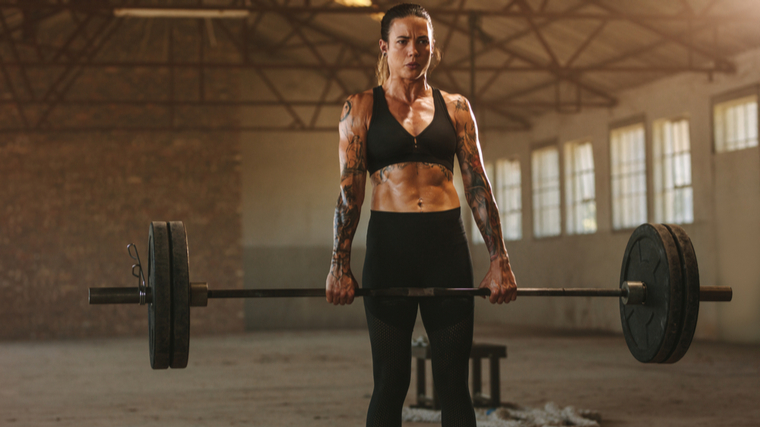
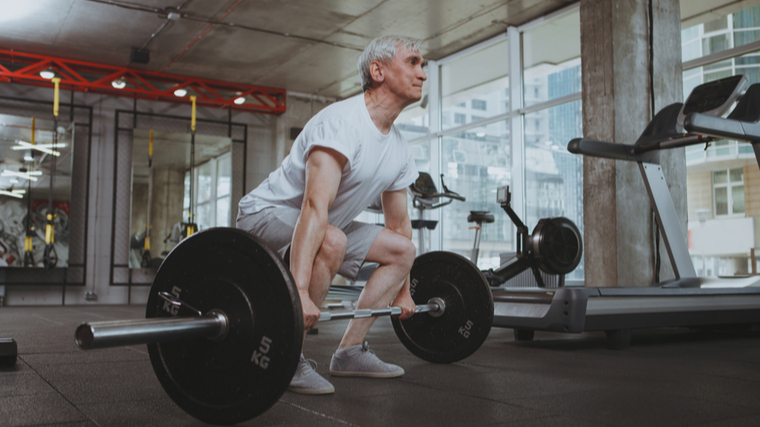
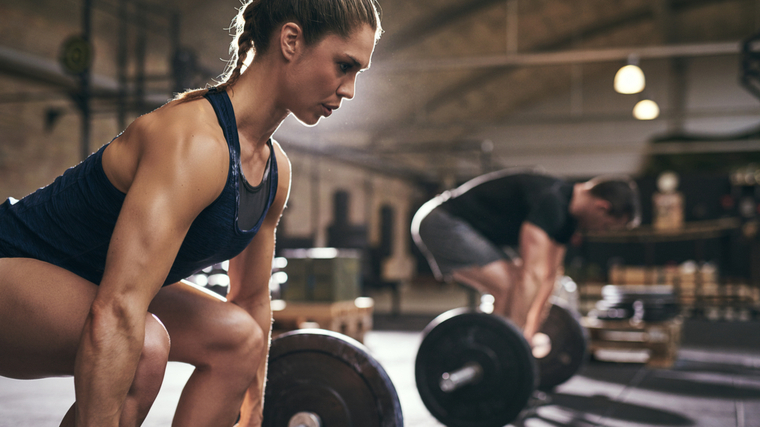
Known for the hallmark grip-and-rip battle cry, deadlifting is one of the easiest lifts to explain in concept. Simply walk up to the bar and pick it up. However, the harsh reality of proper pulling is there are many moving parts that can make or break your rep when you’re on the platform.
When your deadlift gets tough, the first step is almost universally to apply brute force. This might solve a few problems in the immediate term, but for a truly epic deadlift, you will likely need to address many common errors that countless lifters have all struggled with at one point or another.

From hands to feet and everything in between, here are the most common deadlift mistakes and how to fix them.
- Common Stance Mistakes
- Common Hip Mistakes
- Common Back Mistakes
- Common Grip Mistakes
- Common Setup Mistakes
- How to Deadlift
Common Stance Mistakes
Your feet will serve as the platform on top of the platform. Getting your base right is essential for being able to produce as much force as possible, as safely as possible.
Feet Rotating Mid-Pull
If your feet try to turn out as you produce force, this could be a simple error in how you set up. Often, this will happen as your body tries to “find space” when you’re producing force. For example, if your stance is too close or feet pointed too straight forward, your torso might run directly into your thighs as you reach down to grab the bar.
The Fix
Make sure you set up in a comfortable stance width with your feet subtly turned out. Turning the feet out should allow enough space for your knees to slightly rotate outward as you bend them to reach the bar. In most cases your body shouldn’t be fighting itself for room to work.
Rocking Back On Your Heels
This often results from a simple misunderstanding of how to deadlift. The deadlift is a hip hinge, but you may find yourself overemphasizing heel pressure in order to cue the hinge excessively throughout the lift.
The Fix
Maintain mid-foot pressure throughout the entire repetition. Sequence your foot pressure by finding heel pressure, but then firmly establishing forefoot counterpressure by driving the big toe into the floor. Sit the bar itself directly over the middle of your foot and you should have a much easier time performing the hip hinge with full-foot contact.
Coming Up On Your Toes
In opposition to rocking back on the heels, sometimes you may experience being pulled forward onto your toes. This is often accompanied by excessive knee flexion in the setup and can make it very difficult to complete the lift properly or prevent your back from rounding.
The Fix
Maintain big toe pressure, but in this instance, intentionally send pressure (and your bodyweight) rocking slightly into your heels. Ensure the bar itself stays firmly planted in the middle of your foot and maintain these two pressure points throughout the lift.
Outward Foot Pressure (Eversion)
Eversion is emphasizing pressure towards the outside of your foot. This is another cueing relic from the past that often comes up, or it may simply be an unconscious mistake. The problem is that it can hinder maximum force production and potentially lead to balance issues throughout the lift.
The Fix
Cueing outward foot pressure is often cited as a means of keeping your knees out. However, if you properly engage in a hip hinge technique, your posterior chain should largely prevent any undue collapse of the knees. Maintain mid-foot pressure, establish both toe as well as heel contact, and engage your posterior chain.
Common Hip Mistakes
The hips are an essential part of proper deadlifting – they are one of the largest and most powerful muscle groups of the body and a key fixture in a proper hip hinge technique.
Hips Sitting Too Low
You may find yourself setting your hips too low at the initiation of a deadlift, often rationalized as a way of helping align your back or core. This may help in setting a brace, but “sitting down” too much also imbalances your body weight distribution to leverage against the deadlift.

When this happens, your hip hinge can be compromised and feel awkward, especially if your shoulders end up behind the barbell.
The Fix
Keep a soft bend in your knees as you start to grip the bar. Drop the hips down into a position such that your shoulders are slightly higher than your hips. Sit into your posterior chain by finding proper foot pressure and body weight distribution (this might feel like a hamstring stretch).
Hips Sitting Too High
Another common mistake is running away with your hip positioning and turning the deadlift into a pure hinge. While the deadlift does involve a hip hinge, it also draws on the quadriceps on the initial drive off the floor – keeping the hips too high will result in a stiff-legged deadlift instead.
The Fix
As a general rule, you should be able to start your deadlift with your shoulders slightly higher than your hips. In order to accomplish this, you will need to involve some degree of knee bend. Before you start your lift, check to see if your shoulders are higher, parallel, or lower than your hips and adjust as necessary to keep your hips lower than your shoulders.
Hips Shooting Up Early
Hips shooting up can be a result of improper starting position or poor leg drive. The deadlift combines the quadriceps and posterior chain to lift the most amount of weight possible. If the hips shoot up before the bar moves off of the floor, you might have weak quads relative to your back.
The Fix
If your quads aren’t joining the deadlift party, it could be a result of improper foot pressure (being too heel dominant), general weakness, or perhaps you just need to cue better.
Make sure you are keeping even foot pressure and body weight distribution, and cue a strong “leg press” sensation on the initial part of the lift. If these two don’t solve the problem, spend some time strengthening your quadriceps specifically.
Hip Shift
A hip shift can be multifactorial and highly individual, but there are some extremely common simple fixes for it as well. In an exercise like a deadlift, if you experience a hip shift (where your hips seem to move laterally) – you might be exposed to a plateau, or even worse, injury.
The Fix
There are a ton of quick ways to fix uncomplicated hip shifts. Two straight forward solutions may be to stretch and fix your set-up. Stretch your glutes and hip flexors with a pigeon stretch or couch stretch. Ensure your feet, grip, and stance width are all symmetrical.
Common Back Mistakes
Your back is another lynchpin of the deadlift. Knowing how to set it properly and optimize your leverage can make all the difference when it comes time to tug on a new personal record.
Lack of Lat Engagement
The deadlift requires you to produce a ton of leg drive to lift the bar off of the ground, but you also need to have a tremendously strong back and core to safely transfer that force across your kinetic chain.
Lack of proper engagement of the back musculature can lead to missed lifts or even injury.
The Fix
Keeping your lats as tight as possible is an integral piece of controlling your deadlift bar path and keeping your back safe. Engaging your lats in a deadlift might seem awkward at first, so using a reference lift to know exactly how you should be keeping tension can help.

You can try performing a straight-arm pulldown between your warm-up sets and mimic the tension you feel at the bottom of the lift as you set your lats in the deadlift.
Setting the Shoulder Blades
One of the most misunderstood aspects of deadlifting is knowing what to do with your shoulder blades. Your shoulder blades are connected to your arms, which are in turn connected to the barbell. How you brace them can have a big impact on the leverage you have to deadlift with.
The Fix
The shoulder blades are often cued to be retracted and depressed (squeezed “back and down”). If you perform both, squeezing the shoulder blades together only serves to artificially lengthen the range of motion of your deadlift by shortening the reach of your arms.
Dissociate these two steps. only shove your shoulder blades down “into your back pockets”. Your shoulders should hang mostly freely while you pull.
Common Grip Mistakes
Much like the feet, your grip can be a serious impediment on your deadlift progress. After all, you can’t lift what you can’t hold on to.
Poor Grip Sequencing
Gripping the barbell, especially when using something as nuanced as the hook grip can involve some subtle steps. Even with something more straightforward such as double overhand or mixed grip, how you approach these techniques can strengthen or weaken your squeeze even before you’ve started the lift.
The Fix
Maximizing your grip comes down to minimizing the gap between the meaty flesh of your palm and the base of your fingers. Most lifters have calluses at the base of each finger, when you grip improperly, these calluses are pinched and can leave you with a much weaker hand position.
To ensure your hands are snugly wrapped, follow these steps:
- Place the barbell at the base of your fingers.
- Roll the tips of your fingers over the barbell, closing your hand.
- Rotate the barbell itself into the proper starting position.
Hands Too Wide
Gripping the barbell too wide also can make the lift harder than it needs to be. Just like how your shoulder blades are intimately connected to your arm length in the deadlift, so too are your hands and grip placement.
The Fix
Your deadlift grip does not need to be wider than your normal relaxed arm position – resting alongside your body. Unless your normal deadlift stance assumes a slightly wider position, reach straight down and grab the bar as-is. As a general landmark, ensure your grip placement keeps your arms snug against your legs without shoving them in.
Alternating Grip, or “Helicopter”
One of the most dreaded experiences during a gritty deadlift lockout is feeling the barbell itself rotate or twist. This often happens due to improper or uneven hand placement, and is particularly prominent during mixed grip techniques.
The Fix
Make sure that your shoulder mobility allows you to properly perform a mixed grip technique; specifically, your underhand arm will need to maintain external shoulder rotation.
Warm-up your shoulders to maintain their mobility and consider even placing your supine hand slightly wider to give your shoulder more room.
Common Setup Mistakes
Finally, some general setup errors often ripple throughout the entirety of the deadlift, throwing off what could have been a beautiful repetition but was unfortunately doomed from the start.
Not Pulling the Slack Out
Pulling slack from the barbell means to pull the barbell taut against the plates themselves before you lift. Most barbells have a small amount of flexibility, or whip, to them, that you should pull taut before you try to lift the weight off the floor.
If you don’t, your rep can feel awkward or jerky or even throw off your own bodily tension.
The Fix
Removing the slack from both the bar and your body comes down to actually using the weight of the deadlift itself to help position you for the pull. Grip the bar and establish upward pressure against the plates.
Without losing this upward pressure, perform your setup as you usually would. Maintaining this level of tautness against the bar will help leverage you into the best possible position.
Not Wedging Properly
Wedging is the art of getting as tight and braced against the barbell as possible to maximize leverage before the pull. It can be seen most often as lifters “digging in” against the barbell before starting their lift, making themselves even visually uncomfortable.
However, coordinating the wedge while maintaining upward pressure against the bar is often very difficult.
The Fix
Wedging your body as close to the barbell as possible has huge advantages for maximizing your deadlift, but don’t rush it.
Slow your wedge technique down at first, practicing maintaining upward pressure against the bar as you shift your body as close as you can. As you improve this technique, becoming more explosive or dynamic can be helpful for creating more power.
How to Deadlift
These common mistakes pertain to the conventional style of deadlifting. You can break down the conventional deadlift into a few core steps to get your technique in order.
Step 1 — Set Your Stance
Approach the barbell and assume a hip-to-shoulder-width stance. Stand such that the barbell “cuts your foot in half” when you look down at it. Angle your toes out ever so slightly.
Step 2 — Grip The Bar
Keep a subtle bend in the knee and round over to grip the bar. Use a double overhand, mixed, or hook grip, keeping your hands as close to your body as possible without impeding the knees.
Step 3 — Set The Hips
Pull your chest up and flatten your back, allowing your hips to drop slightly below your shoulders while maintaining a neutral and rigid spine.
Step 4 — Brace
Squeeze the bar, engage your lats and upper back, brace the abs, and “sit into” your posterior chain. You should feel full-body tension, mid foot pressure, and a mild stretch in your hamstrings.
Step 5 — Pull
Leg drive by pressing the earth away, simultaneously extending your hips, knees, and raising your shoulders. As the bar clears your knees, think of standing tall and locking your hips with your shoulders behind the bar.
Pull Like a Pro
Deadlift long enough and you’ll likely run across many an error in your own training. In fact, deadlift long enough and you may even see some of these errors rear their ugly heads more than once. Knowing their causes (and more importantly, the solutions) however, should keep you plugging away at being an ever-better deadlifter.
Although it can be fun to hit the pre-workout hard and have a good grip-and-rip session, laser-focused deadlift execution will ultimately contribute to more progress and longer training careers. Control the chaos and refer to this cheat sheet for prolonged pulling progress.
Featured Image: Gorondenkoff / Shutterstock
The post 9 Deadlift Mistakes and How to Fix Them for Stronger Pulls appeared first on BarBend.
